


Comprehensive Walkthrough: Configuring Custom Error Pages in Azure Application Gateway


Welcome to this in-depth guide, we will walk through the seamless process of setting up custom error pages within our Azure Application Gateway. Let's deep dive...
Introduction
Greetings to all DevOps engineers striving to enhance their applications' user experience! This blog is tailored specifically for those of you embarking on the journey of implementing custom error pages for a range of error response codes.
Custom Error pages can be configured at the Global or Listener level, in this article we will look at how we can configure them at the Listener level. We will configure the same error page for all response codes.
Prerequisites
Operational Landscape with Application Gateway: A functional environment featuring the Azure Application Gateway, serving as the canvas upon which our custom error page masterpiece will unfold.
Azure Storage Account: An established repository within the Azure ecosystem, ready to house the vital components of our custom error page configuration.
Bespoke Custom Error Page: A personalized error page, artfully adorned with your company's distinct branding.
Background and Importance
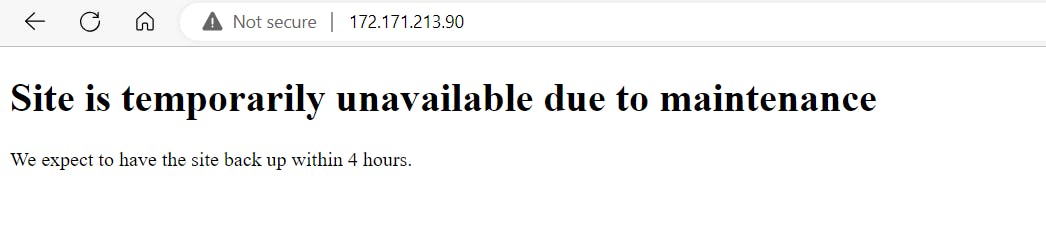
Azure Application Gateway is a layer 7 load balancer that enables us to manage and distribute traffic to our web applications. As users interact with your applications, errors can occur due to various reasons, such as server downtime, incorrect URLs, or client-side issues. When these errors occur, the default behavior might display a generic error message that doesn't provide much information, leaving users frustrated and confused.
Configuring custom error pages allows us to provide meaningful and user-friendly error messages. Instead of encountering generic errors, users receive clear instructions on what went wrong and how to proceed. This improves user satisfaction and reduces bounce rates.
Custom error pages can be designed to match our company's branding and visual identity. This ensures a consistent and cohesive user experience, even in the event of errors.
Clear error messages can help users understand the nature of the problem without needing to contact customer support.
What's New
Previously, the Azure Application Gateway enabled users to set up a personalized error page exclusively for two specific status codes: 502 - Bad Gateway and 403 - Forbidden. However, there has been a recent expansion in this capability, encompassing a selection of additional status codes that can now be accommodated with custom error pages.
| Response code | Description |
| 400 | Bad request (In preview) |
| 403 | Forbidden |
| 405 | Method not allowed (In preview) |
| 408 | Request timeout (In preview) |
| 500 | Internal Server Error (In preview) |
| 502 | Bad gateway |
| 503 | Service unavailable (In preview) |
| 504 | Gateway timeout (In preview) |
Note: It's important to note that this feature is currently in a Preview phase and currently not available for the 404 status code.
Getting Start!!
A. Setting Up a Static Website
Begin by accessing the Azure Portal and opening the designated Storage account.
In the left-hand navigation pane, locate and select the "Static Website" option.
Activate the feature by toggling the switch, and proceed to complete the necessary details pertaining to the "index.html" and "error.html" files.

Safeguard your changes. Subsequently, Azure will establish a container ($web) within the same storage account to serve as the hosting platform for your static websites.
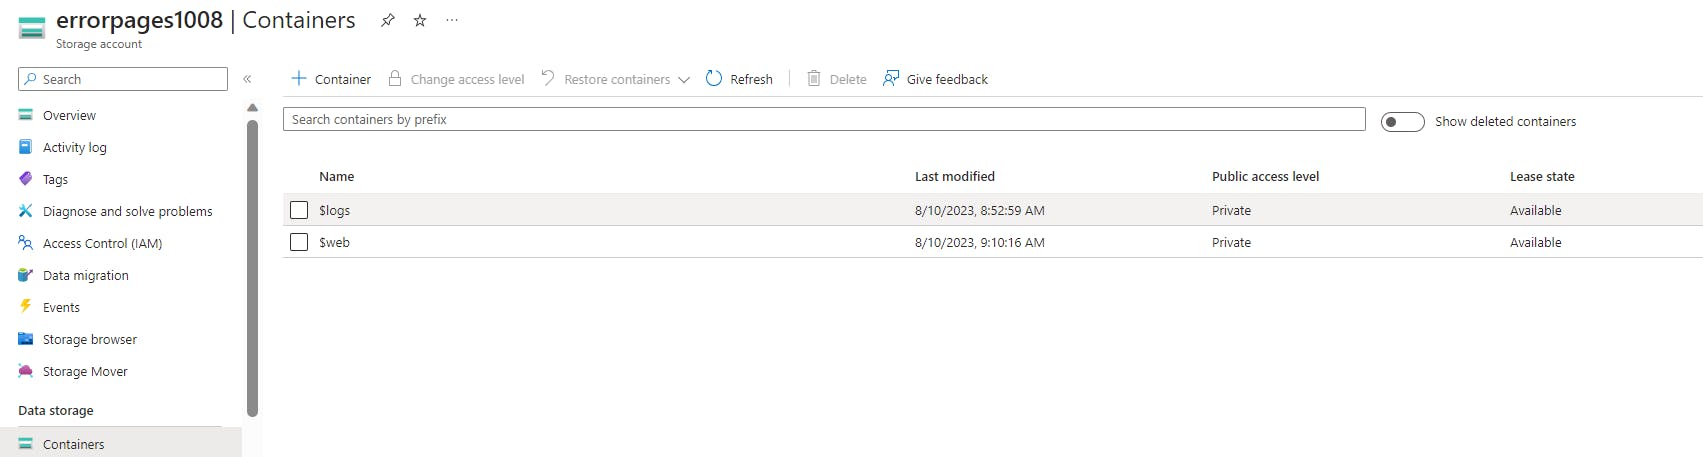
Transfer the custom error page and any essential accompanying files into this designated container. Now, navigate back to the Static Website section and copy the URL from the Primary endpoint.
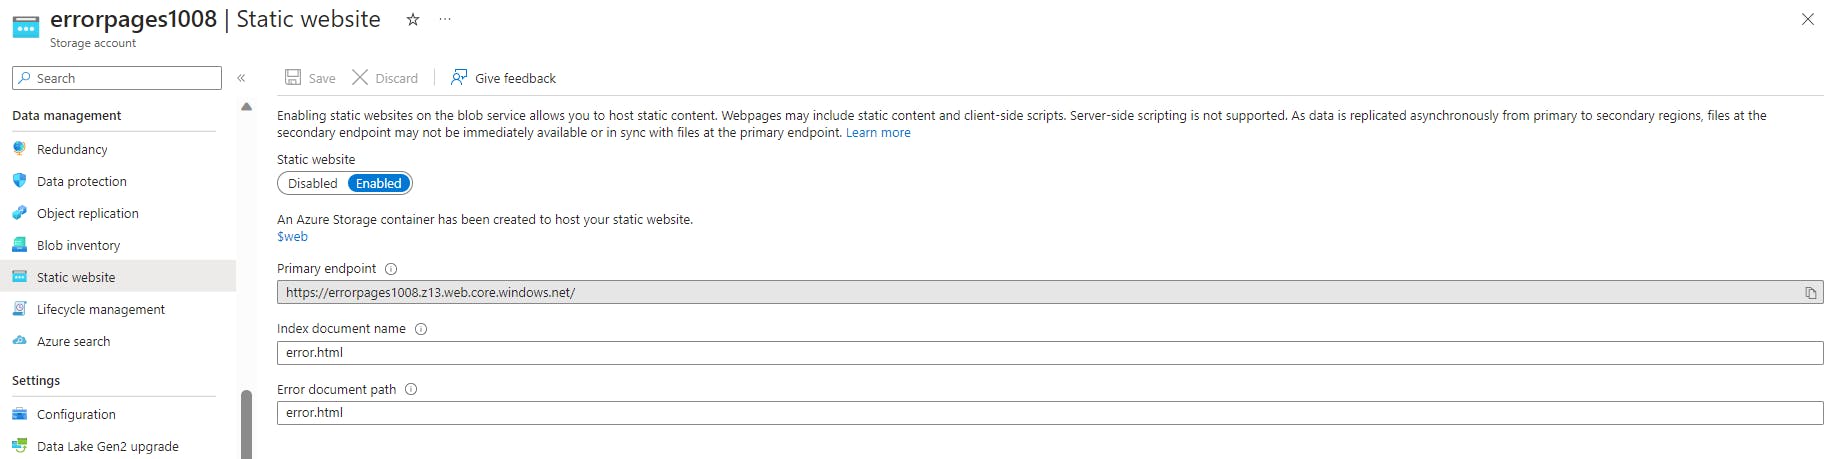
It's crucial to retain this URL, as it will need to be referenced in the configuration of the Application Gateway
B. Configuring Error Pages for Application Gateway
Open a web browser and access the Azure portal via https://portal.azure.com. Proceed to log in.
Navigate to the designated Azure Application Gateway.
In the left-hand navigation menu, locate and click on "Listeners." Select the specific listener that necessitates error page configuration.
Scroll down slightly until you come across the "Custom Error Page" section.
For the desired response status, input the URL of the static website along with the specific file name. For instance, use a format like:
https://errorpages.z19.web.core.windows.net/index.html
Presently, this URL and error page can be employed uniformly across all response codes. However, for optimal outcomes, it's recommended to utilize distinct error pages tailored to each response code.
Azure Powershell
For individuals, who want to apply the changes via Azure Powershell, Please refer below,
$appgateway   = Get-AzApplicationGateway -Name <app-gateway-name> -ResourceGroupName <resource-group-name>

$listener = Get-AzApplicationGatewayHttpListener -Name <listener-name> -ApplicationGateway $appgateway

$updated = Add-AzApplicationGatewayHttpListenerCustomError -HttpListener $listener -StatusCode HttpStatus502 -CustomErrorPageUrl "https://errorpages.z19.web.core.windows.net/index.html"
Valuable Insights and Techniques
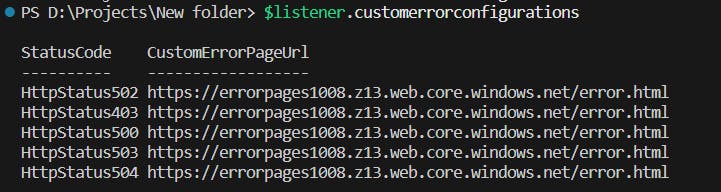
If you want to check via Azure Powershell which error pages are configured for which response code, then you can use $listener.CustomErrorConfigurations
The output will be something like
The ensuing output is illustrative of
Configuring custom error pages at the application gateway level is a valuable practice that can significantly enhance the user experience and maintain a cohesive brand image.
Elevate your Azure journey with these insights. Happy Exploring!!